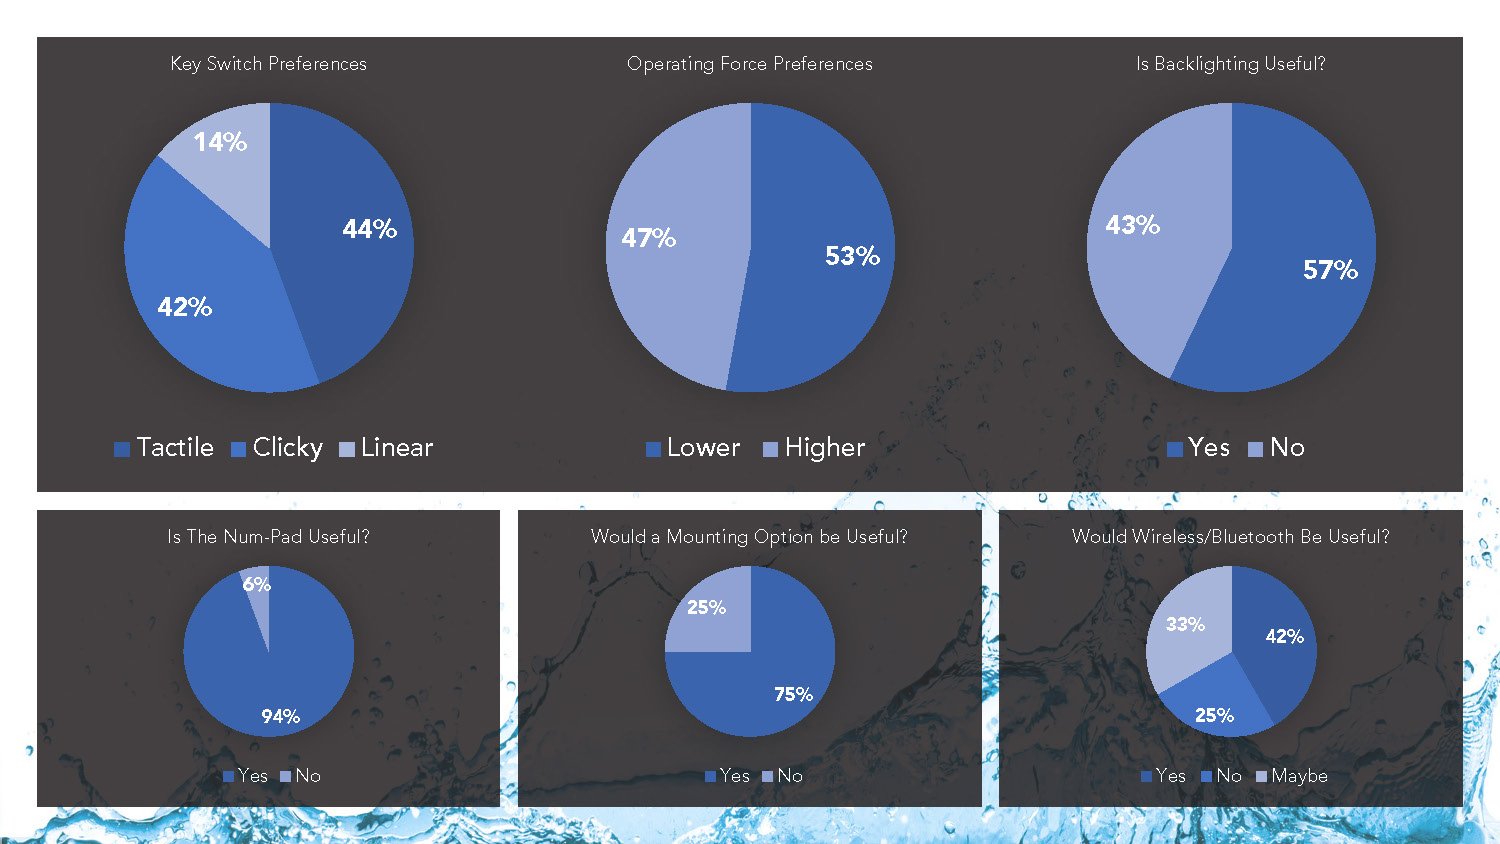
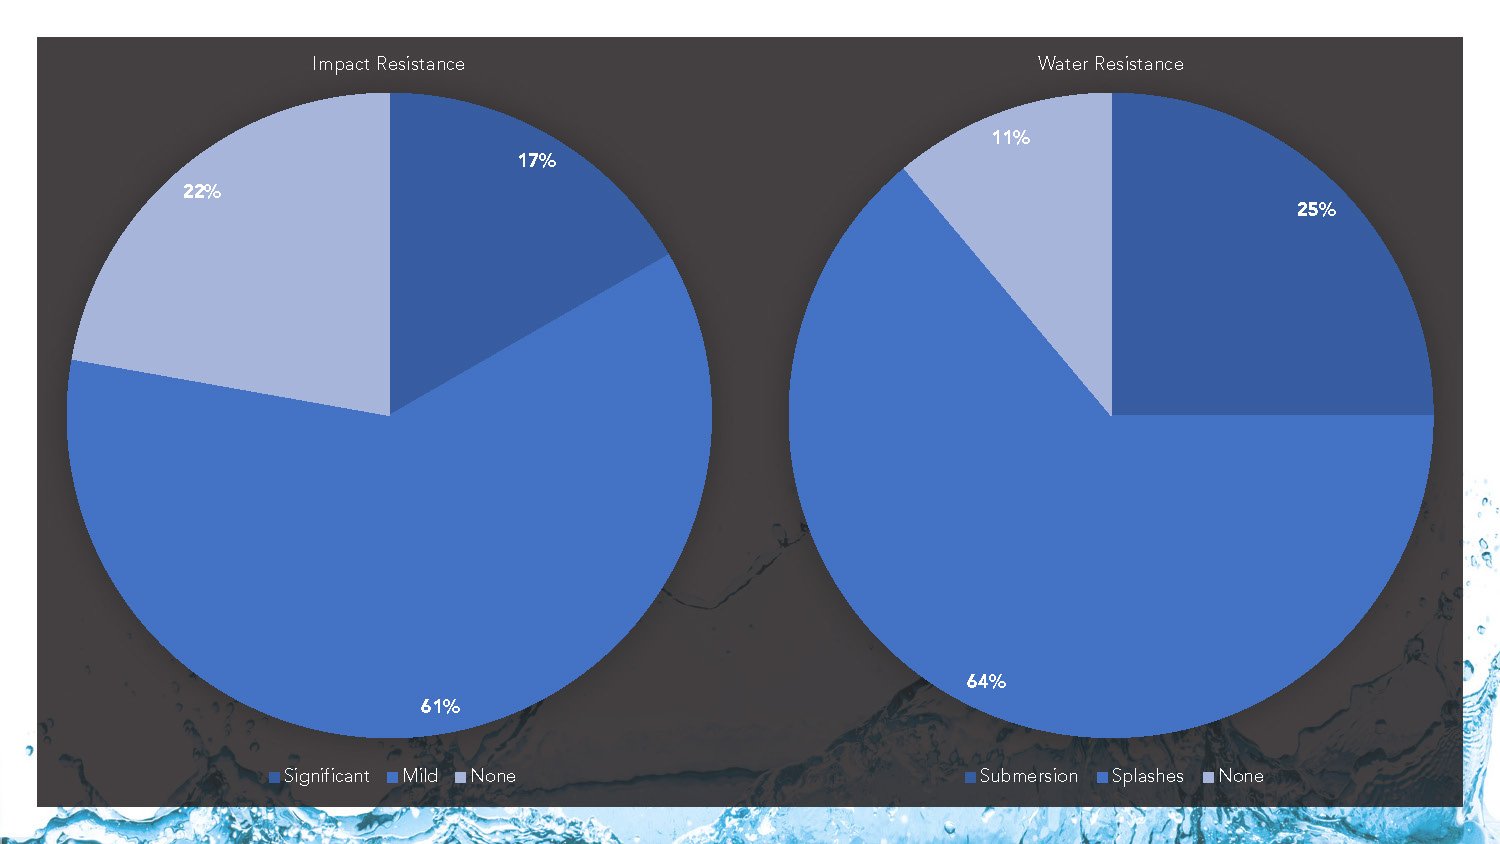
The project took its form and function from a collection of secondary research paired with the survey results from a collection of machinists and engineers. The next few slides show some of the survey data.

I collected opinions on pricing from the audience, but as I progressed, I found that it wouldn't be easy to keep the price low, and it would have to be sacrificed for a quality product.
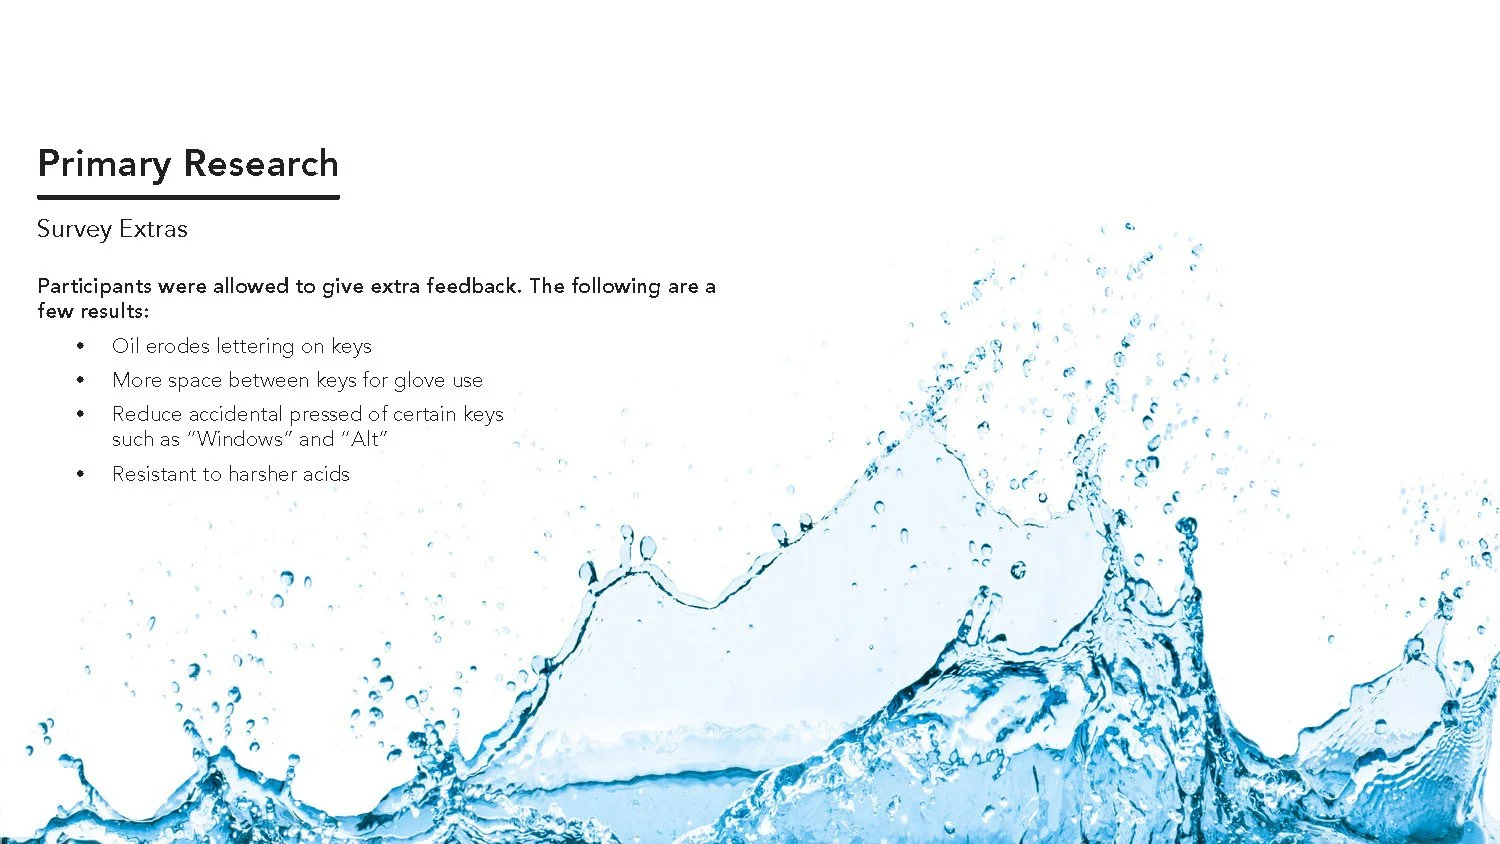
Along with the survey, I collected additional thoughts and opinions from the audience and a few of them helped to discover a niche in the market: a keyboard that could resist both harsh acids and oils simultaneously.
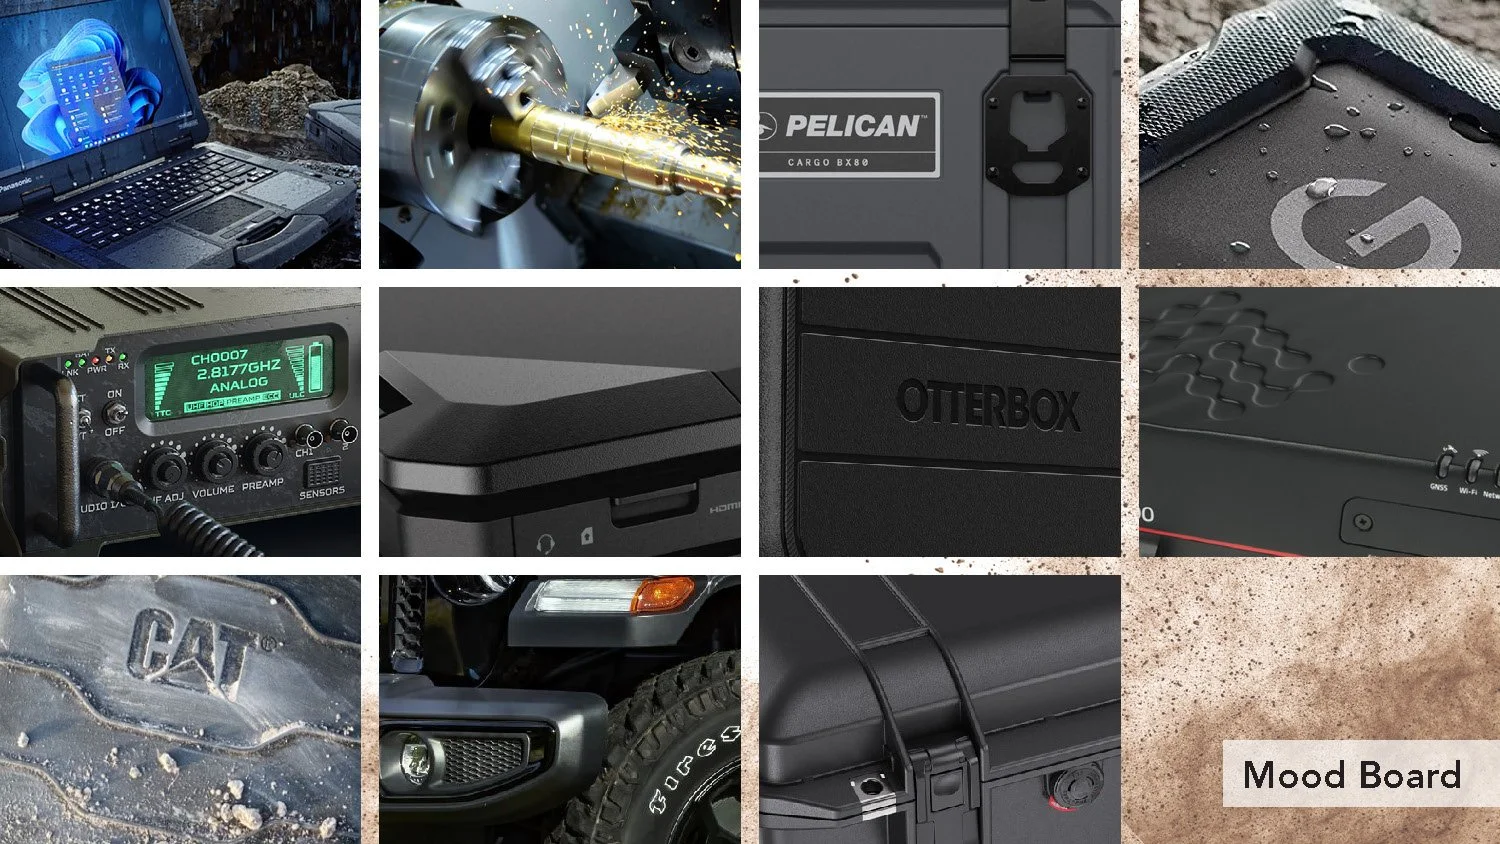
I took influence from "rugged" looking objects. The keyboard relies heavily on looks to aid in describing its purpose.

I relied less on sketching for this project and allowed the function and necessities to define the form. Jumping into model making, I began experimenting with different key sizes and spacing to solve struggle of glove use.

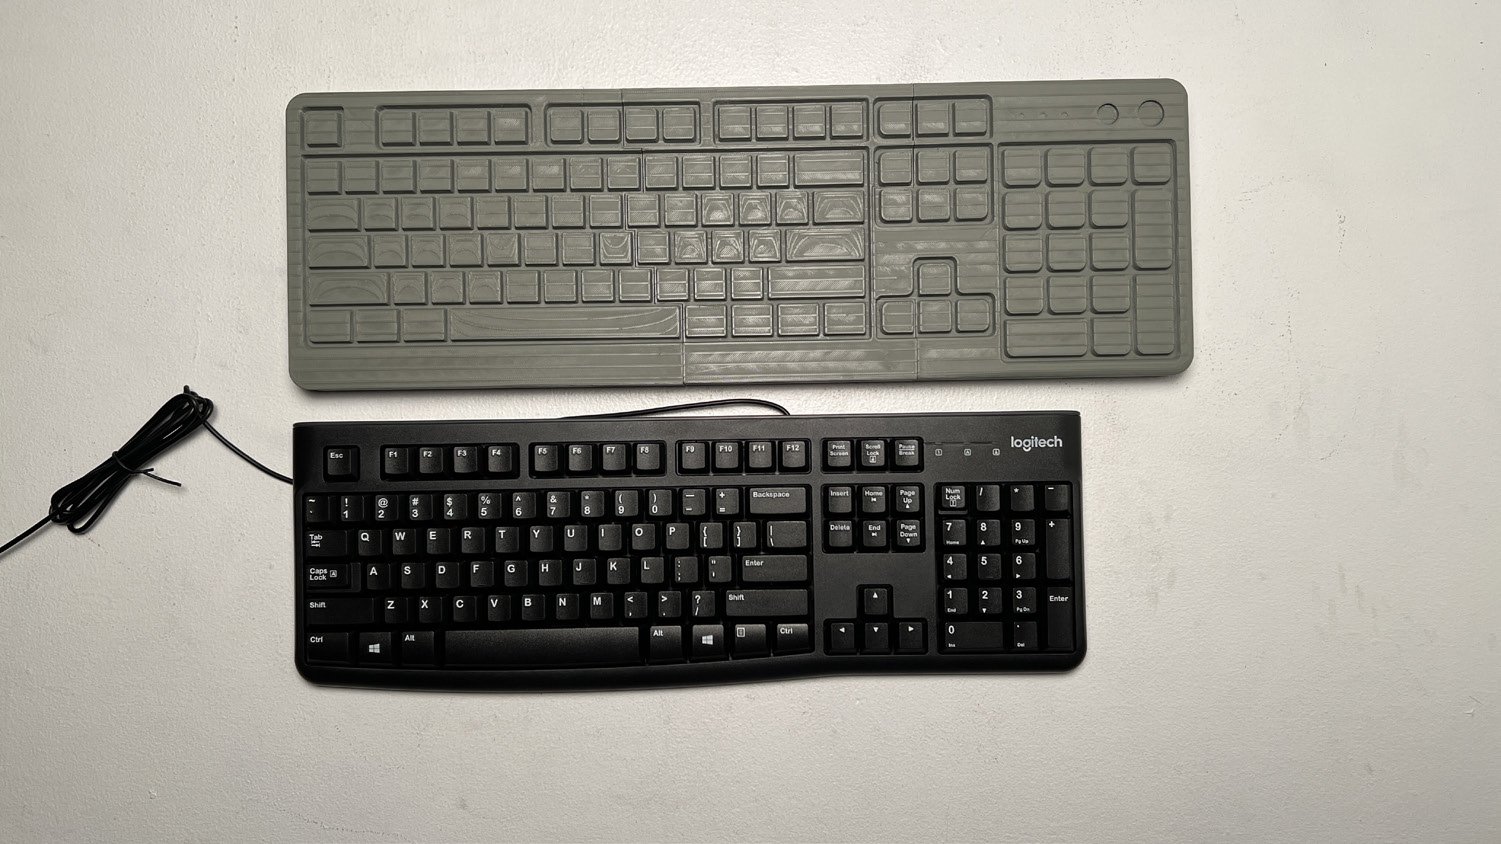
I found a key size that I liked, but a full size model showed that the keyboard was absolutely massive compared to a standard full size keyboard. While the upside to this was that it felt "large and capable," the downside was that it won't fit into environments or desks that are already struggling for space.
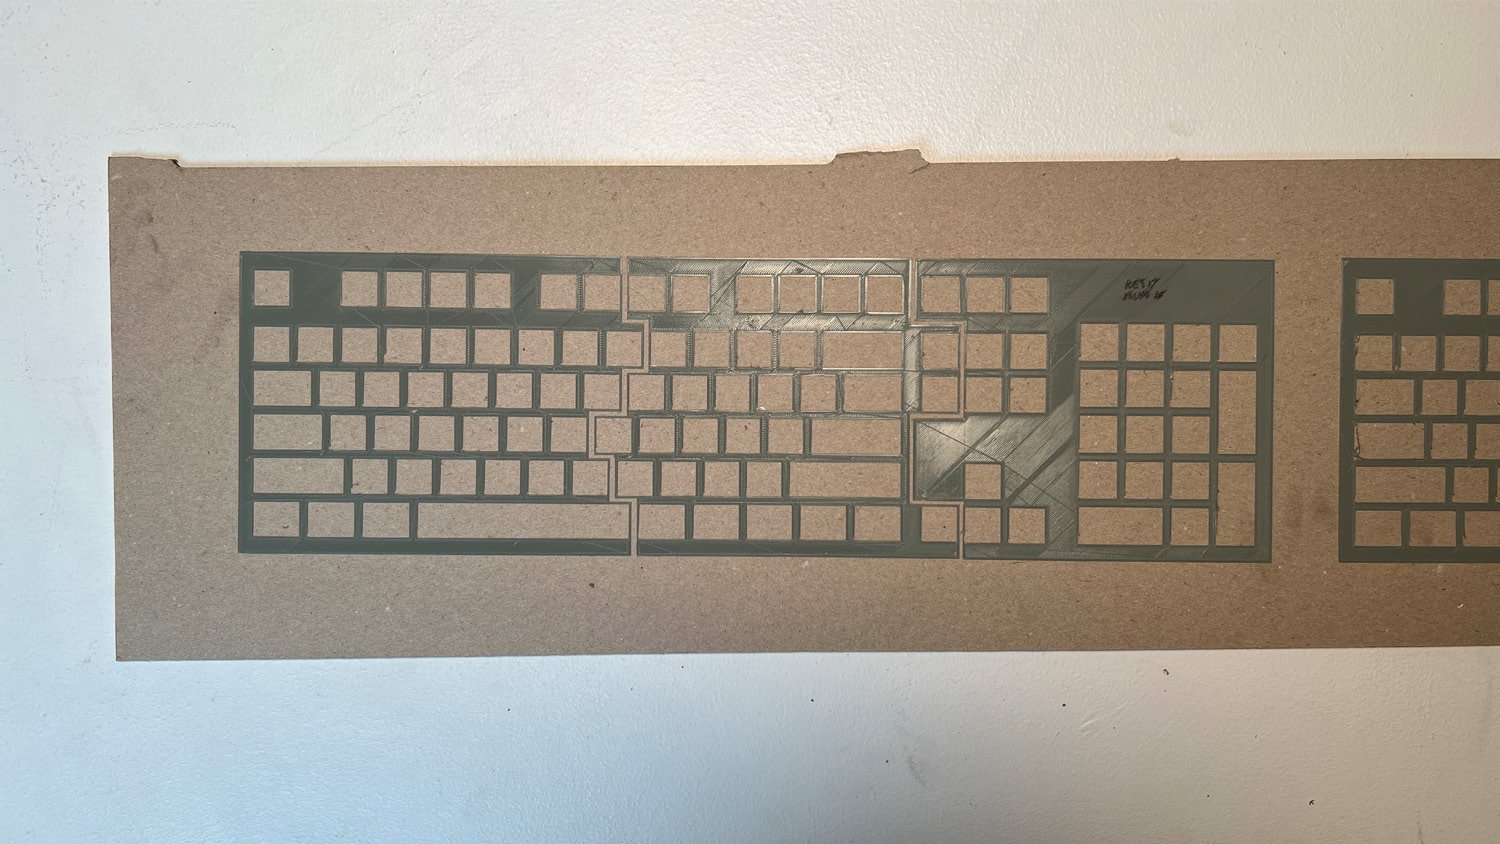
I began playing with more full size models to find a middle ground, and for the sake of speed, I only printed a top view since a three dimensional model wasn't needed.
I ultimately settled on combination of key sizes to solve the issue. Discussing further with the audience brought to light that they usually only continue wearing gloves to quickly punch numbers. Any sustained typing is simply easier with the gloves off. This resulted in a regular key size and spacing on the alpha keys with only the number pad being enlarged. This provided a solid middle ground with the advantage that the appearance drew eyes to the unique number pad.

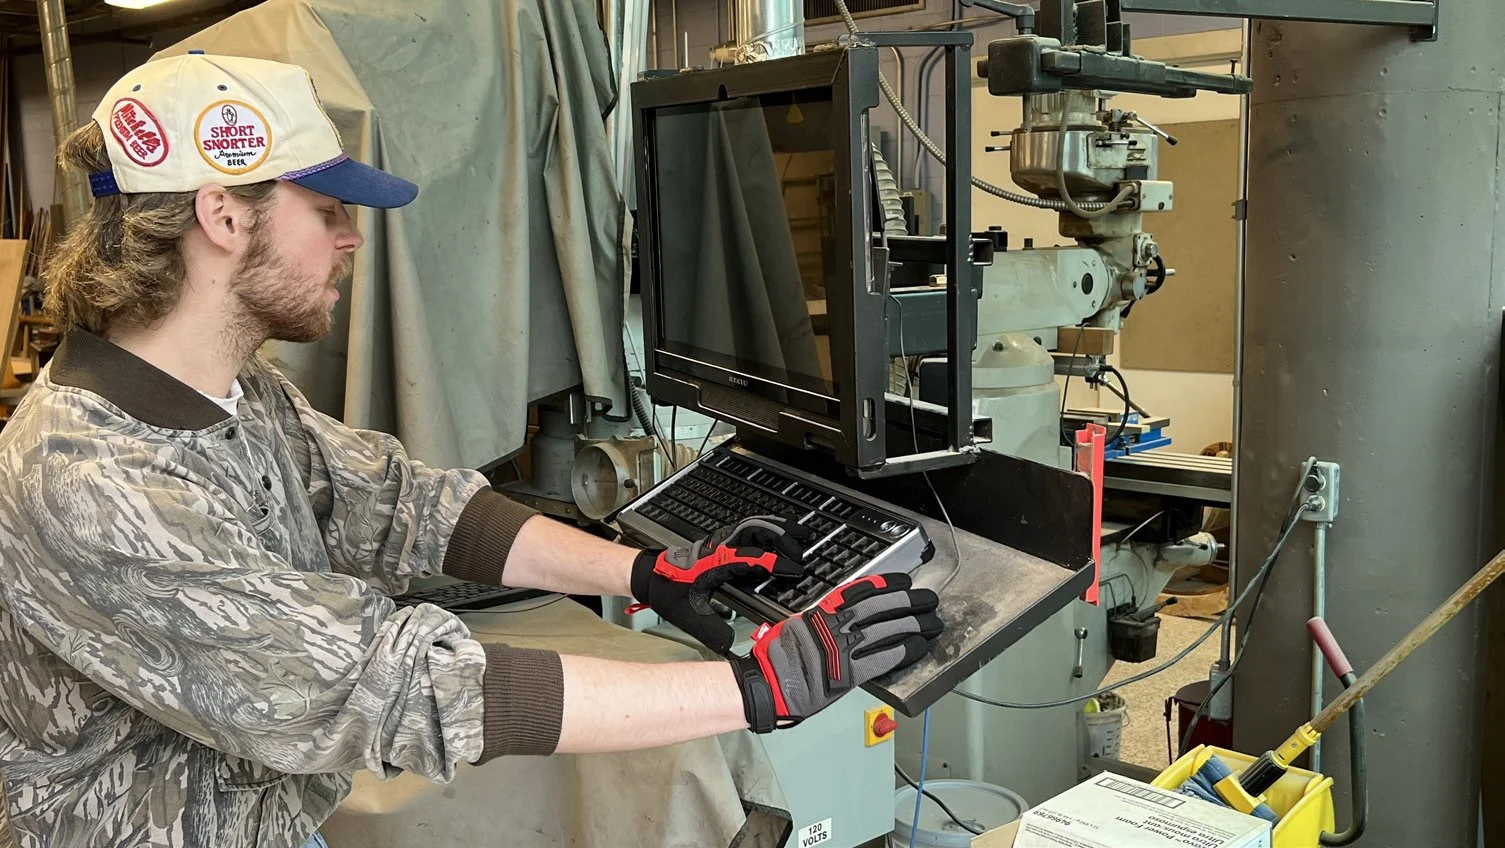
With a new full size model in hand, I let multiple users test the feel with a moderately thick pair of work gloves for validation.
for chemical, oil, and abrasion resistance, I specified that the membrane would be made out of fluoroelastomer. As this would be difficult to both acquire and create a model with, I settled for silicone as it is only an appearance model. Above is the 3D printed two-part mold that I designed. I coated it with shellac in order to prevent any interference with the curing process.
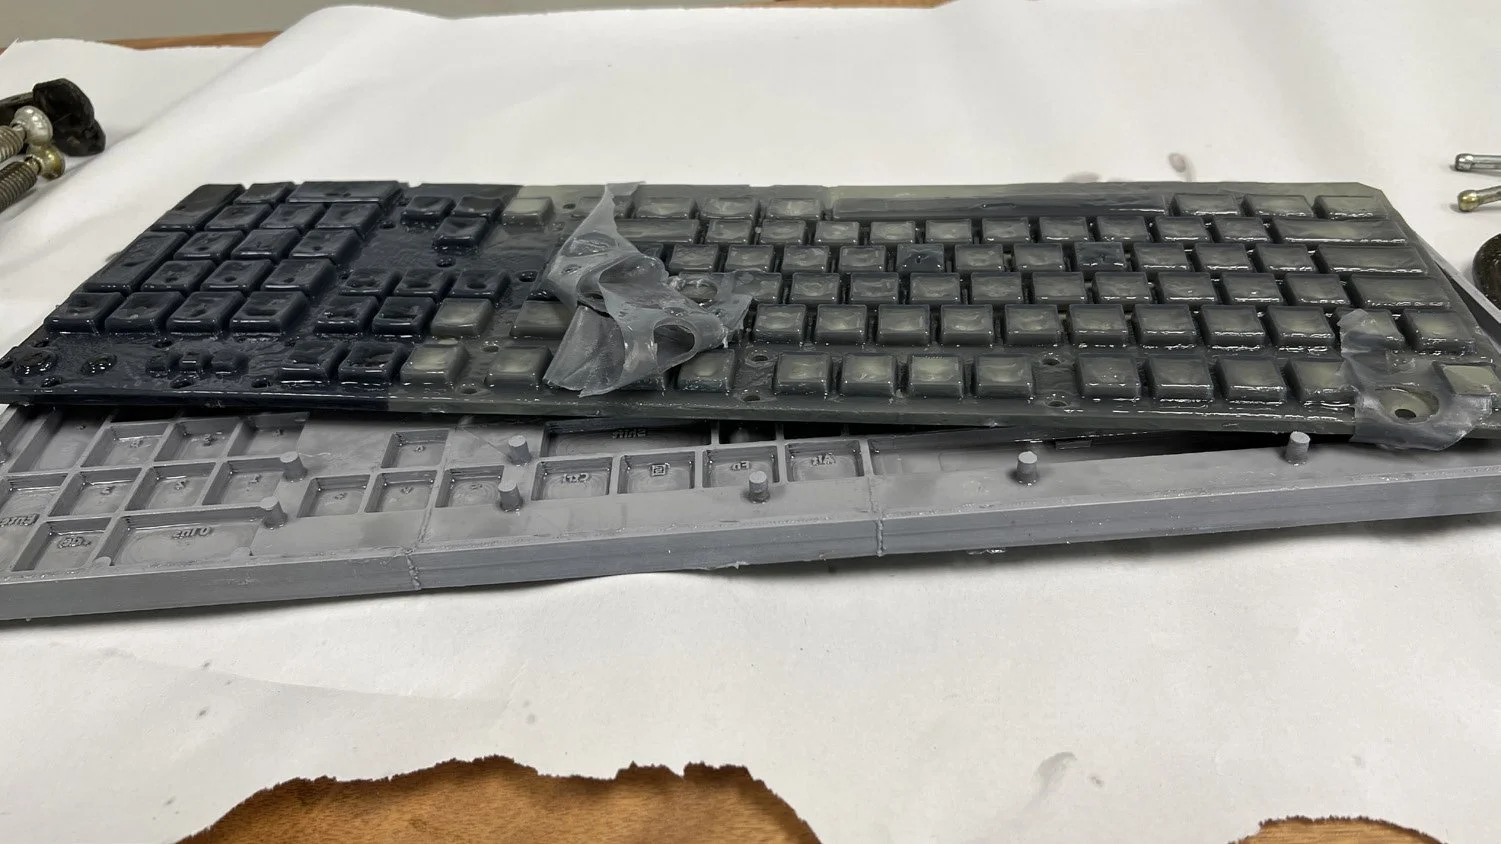
As seen, the curing process for the silicone ultimately failed. Whether a result of inhibition or lack of additional curing time, this was a problem as I began to run out of time to complete the physical model. I set upon my backup plan, which was to print the membrane out of TPU.

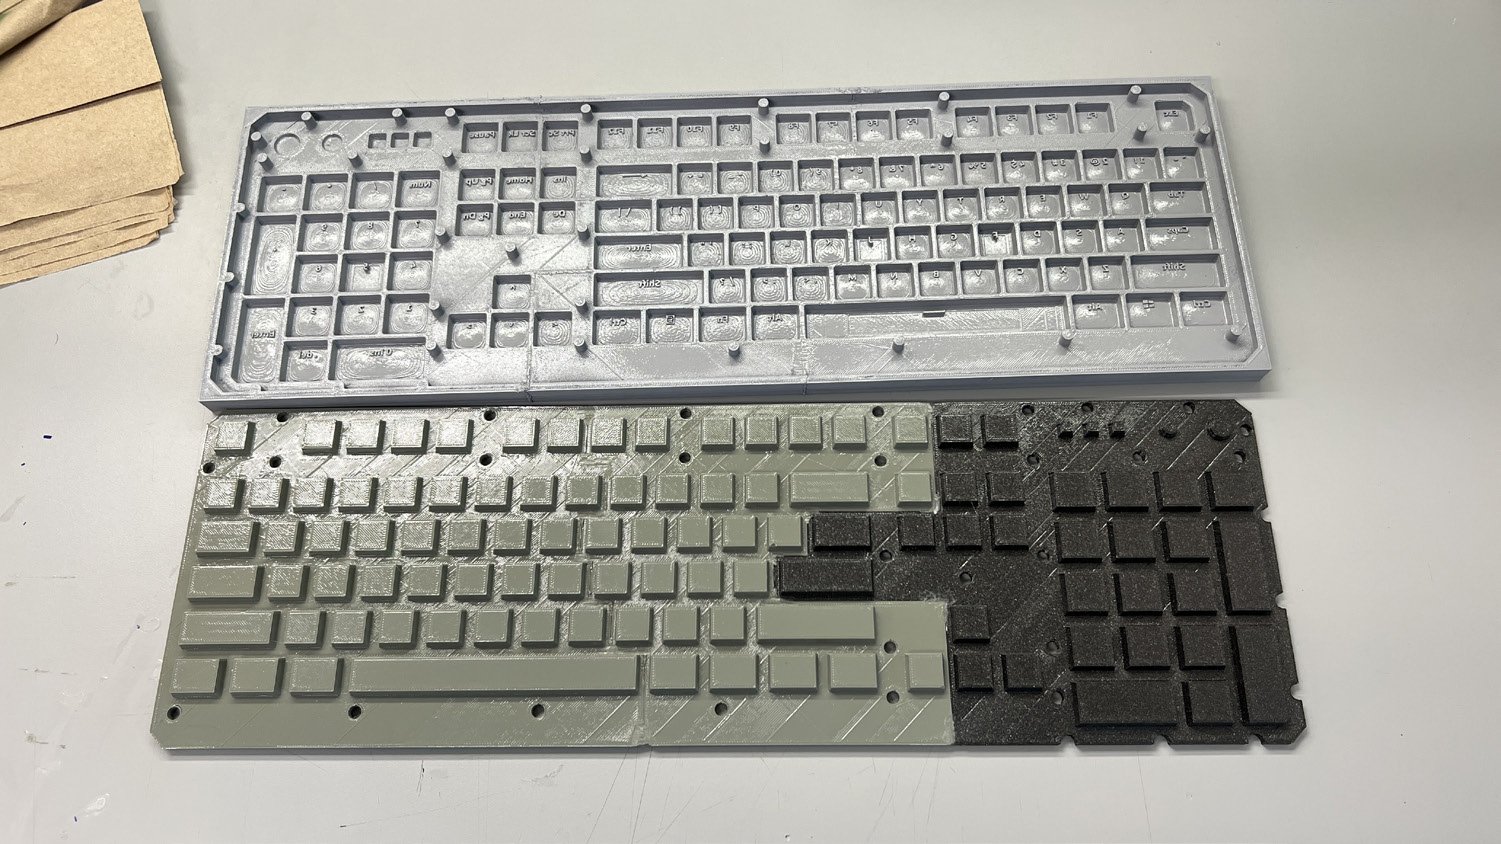
Shown are many of the 1x1 keycaps for the alpha set in an array on the printer.

After 3D printing the shell of the keyboard in segments, I melted the segments together and used Bondo and sanding to smooth it before priming and painting.
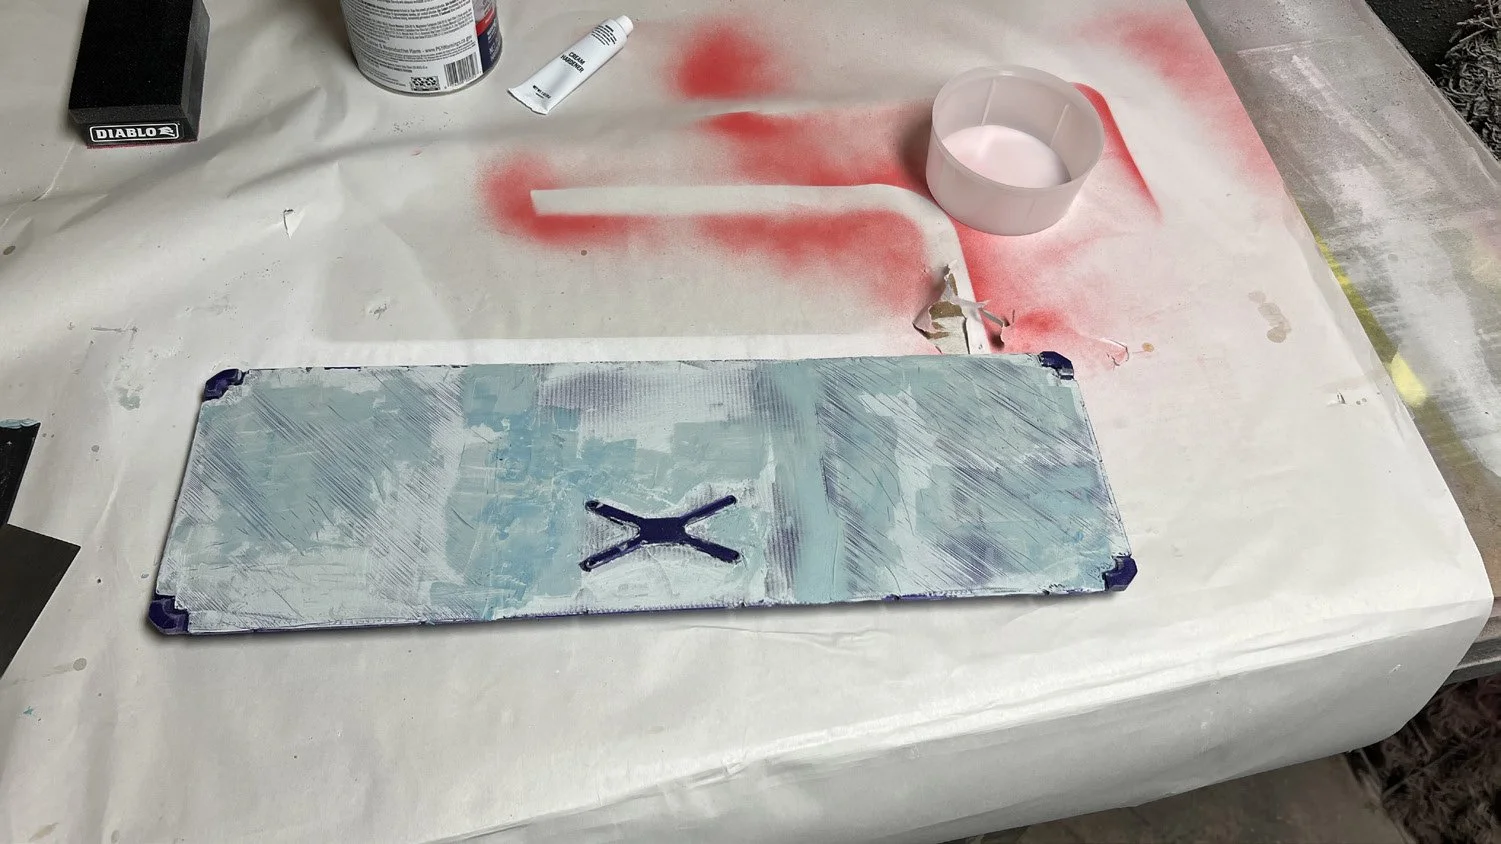
The bottom of the shell came out especially rough and required extra attention.

Due to time constraints and failures throughout the fabrication process, the keyboard came out rougher than I was hoping. It still completes its job of giving a physical presence to the concept, but I was ultimately aiming for a higher quality model.
